
Quality · 2 November 2026 · 5 min read
How to tell a quality solar install from a rushed one
What you can check yourself once the installers leave: cable runs, labels, roof fixings, inverter placement and the paperwork you should be handed.
By Michael John, Central Solar
Most of what makes a solar system last is work you will never be asked to judge. Plenty of it is still visible from the driveway, the meter box and the folder of paperwork, and ten minutes of looking tells you a lot about how much care went in. Here is what to look for once the crew has packed up.
Start with the array
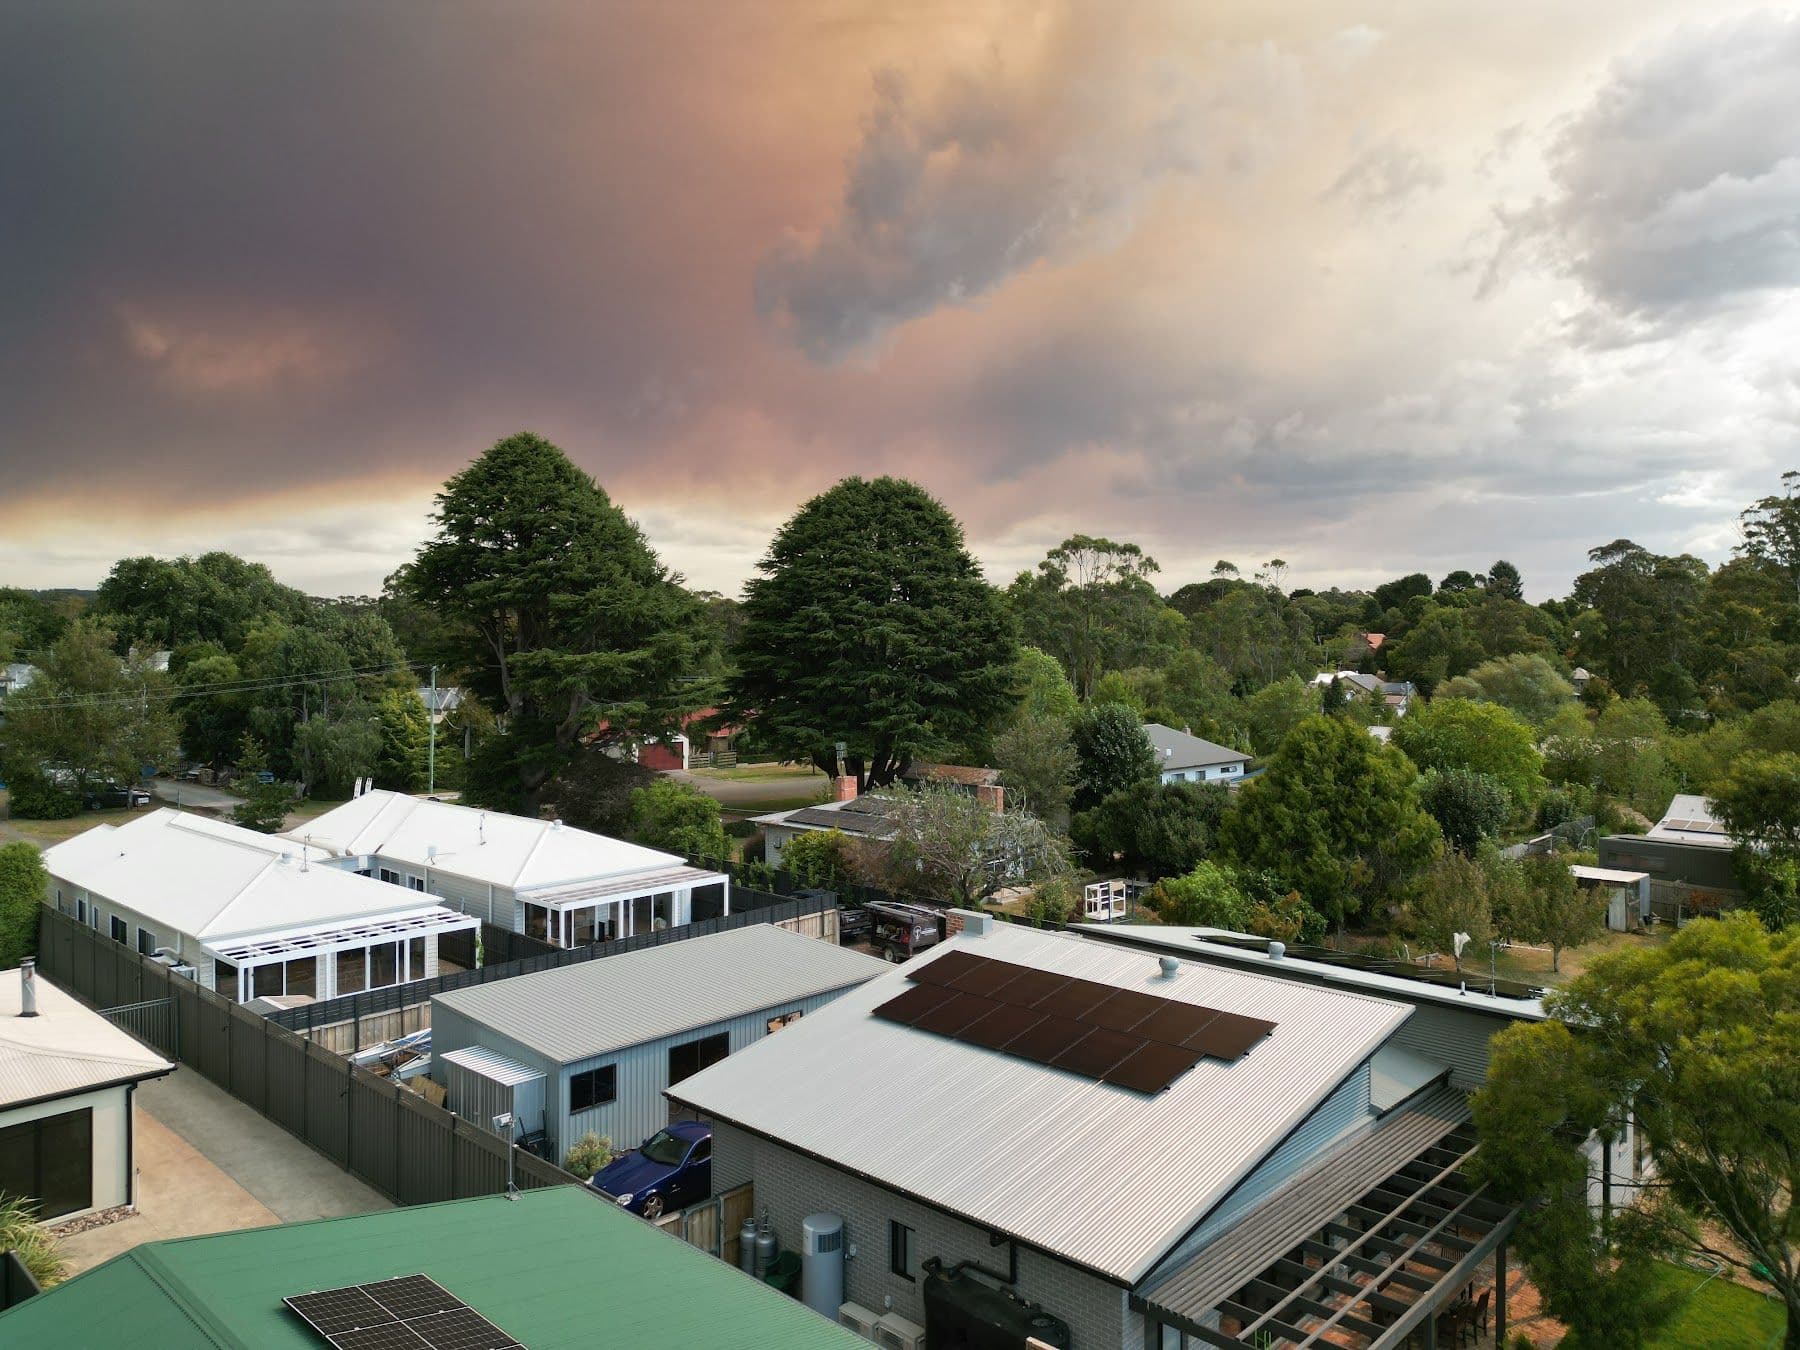
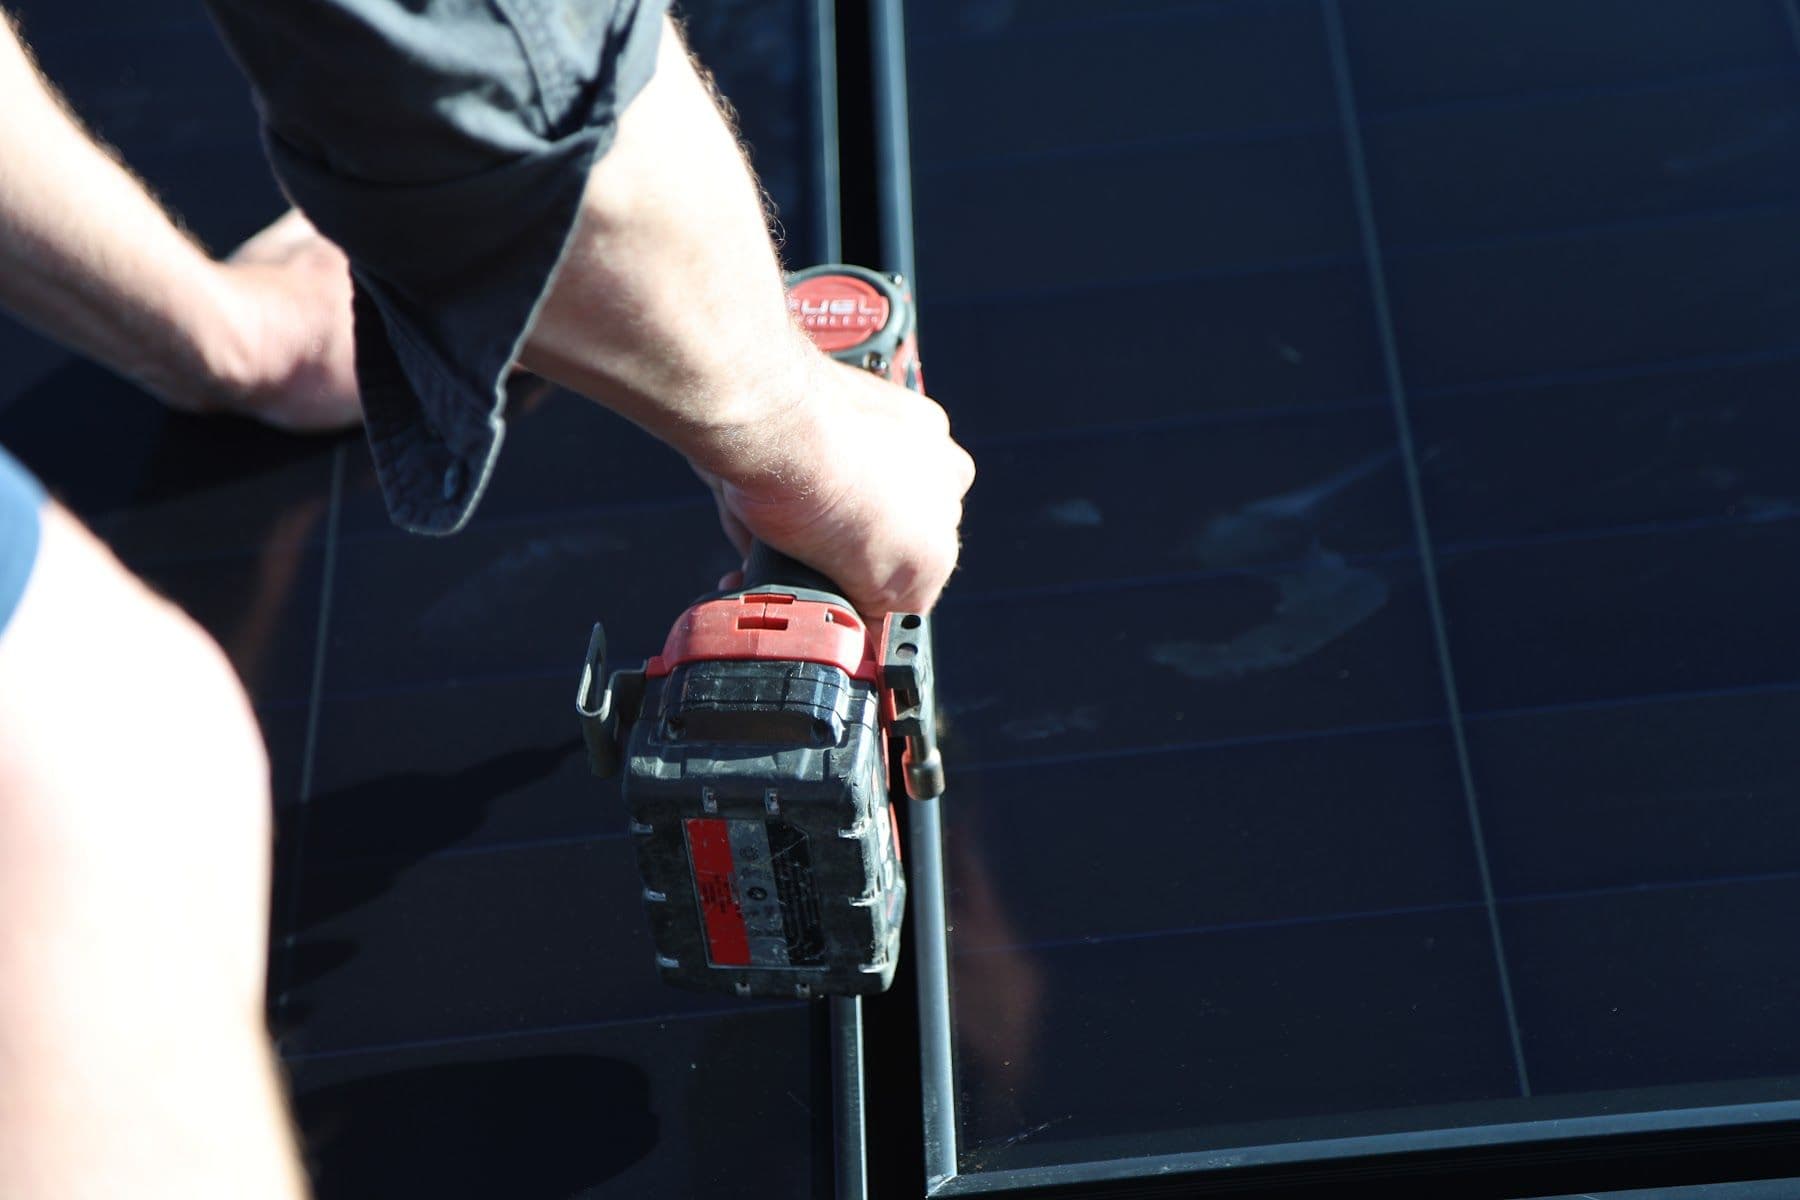
Stand back and look at the panels. Rows should be straight and evenly spaced, with every panel sitting at the same height above the roof. The rails should be fixed with brackets that sit flat, at the spacing the rail and panel manufacturers set for your roof type and wind conditions. A panel that sits proud of its neighbours, uneven gaps, or clamps hanging off the very end of a rail are signs the job was hurried.
On a tiled roof, look at the tiles around each bracket. A careful installer makes room so the tile sits flat over the bracket instead of rocking on it. Cracked or lifted tiles let water in, and you often won't know until a ceiling stains. On a metal roof, every fixing through the sheet should be sealed properly, not finished with a quick dab of silicone.
Follow the cables
Cable runs are one of the best tells. On the roof, the DC cables should be clipped up off the roof surface and kept under the panels, never lying in a gutter or flapping in the wind. Where cable has to run in the open, it should be inside conduit that is UV stabilised and made for outdoor use. Conduit meant for indoor work goes chalky and brittle in the sun and eventually cracks.
Down the wall, a neat job runs conduit plumb and square, saddled at regular intervals, with sealed entries where it passes into the roof space or the house. Sagging runs, open conduit ends and cables pushed through a rough hole tell you the opposite.
The small plugs that join panel cables matter more than their size suggests. The Australian standard for solar array wiring says they may only be mated with connectors from the same manufacturer that are designed to fit together. Energy Safe Victoria reports that Solar Victoria audits found mismatched connectors in 30 per cent of systems in 2019, falling to around 8 per cent in 2022, and that fire services are still reporting fires caused by them. You can't easily check this from the ground, which is why the installer's habits and the independent inspection both count.
Check where the inverter lives
Inverters don't like heat. When they get too hot they protect themselves by cutting their output, which is called temperature derating. Inverter makers' own installation guides say to keep them out of direct sun, and to mount them in the shade or under a roof when they go outside. A shaded wall, a carport or a deep eave is usually a good home. An inverter on a wall that cops the full afternoon sun was put there for convenience, not performance.
Look for clear space around it too. Each manufacturer sets minimum clearances in its installation manual so air can move, and a unit squeezed between a downpipe and a hot water service often won't meet them.
Read the labels
A quality install is labelled so anyone, including a firefighter, can understand it and shut it down. You should see clear, permanent signs at the meter box and switchboard saying there is solar (and a battery, if you have one), properly named isolators or breakers for the solar supply, and the shutdown steps posted where they can be read. Handwriting on masking tape is not labelling.
Open the switchboard door while you're there. New breakers should be neatly fitted and named, with cables dressed tidily rather than stuffed in behind. If the solar work has left the board crowded and messy, that is a fair guide to how the rest of the job went.
The paperwork you should be handed
When the job is finished you should receive:
- The Certificate of Electrical Safety, issued after the independent inspection.
- A system manual with the shutdown procedure, a wiring diagram and the panel layout.
- Warranty documents for the panels, inverter and any battery, with serial numbers recorded.
- The installer's workmanship warranty in writing.
- Commissioning records, including the inverter settings used on the day.
- Working login details for your monitoring app.
Solar Victoria's technical guidance for installers says the handover documents should include a record of the system settings at installation and commissioning, along with maintenance procedures and warranty information. If anything on that list is missing, ask for it now. It is much harder to chase years later.
The inspection is a safety net, not a substitute
In Victoria, solar is prescribed electrical work. That means a licensed electrical inspector who didn't do the job has to check it before it can be switched on. It is a valuable safeguard, but the best jobs pass because the crew did it properly the first time, not because an inspector caught their mistakes.
How we go about it
Our installers are accredited through Solar Accreditation Australia, every system we install is independently inspected by a licensed Electrical Inspector, and we handle the rebate paperwork for you. If you would like to see how a system would sit on your roof, get a quote and we'll take you through it.
Michael John
Central Solar, New Gisborne